
Electrical guide
Recessed Lighting Installation: Layout, Fixture Choice, Title 24 and Permits for Los Angeles Homes
Recessed lighting installation starts with the layout, not the fixture. Divide the ceiling height by two for the spacing in feet, and start the outer row at half that distance from the walls. Shallow ceilings and insulated attics take canless LED wafers; open joist bays take IC-rated housings. In the City of Los Angeles, new wiring above a ceiling needs an LADBS permit, and every fixture needs a Title 24 JA8 mark.
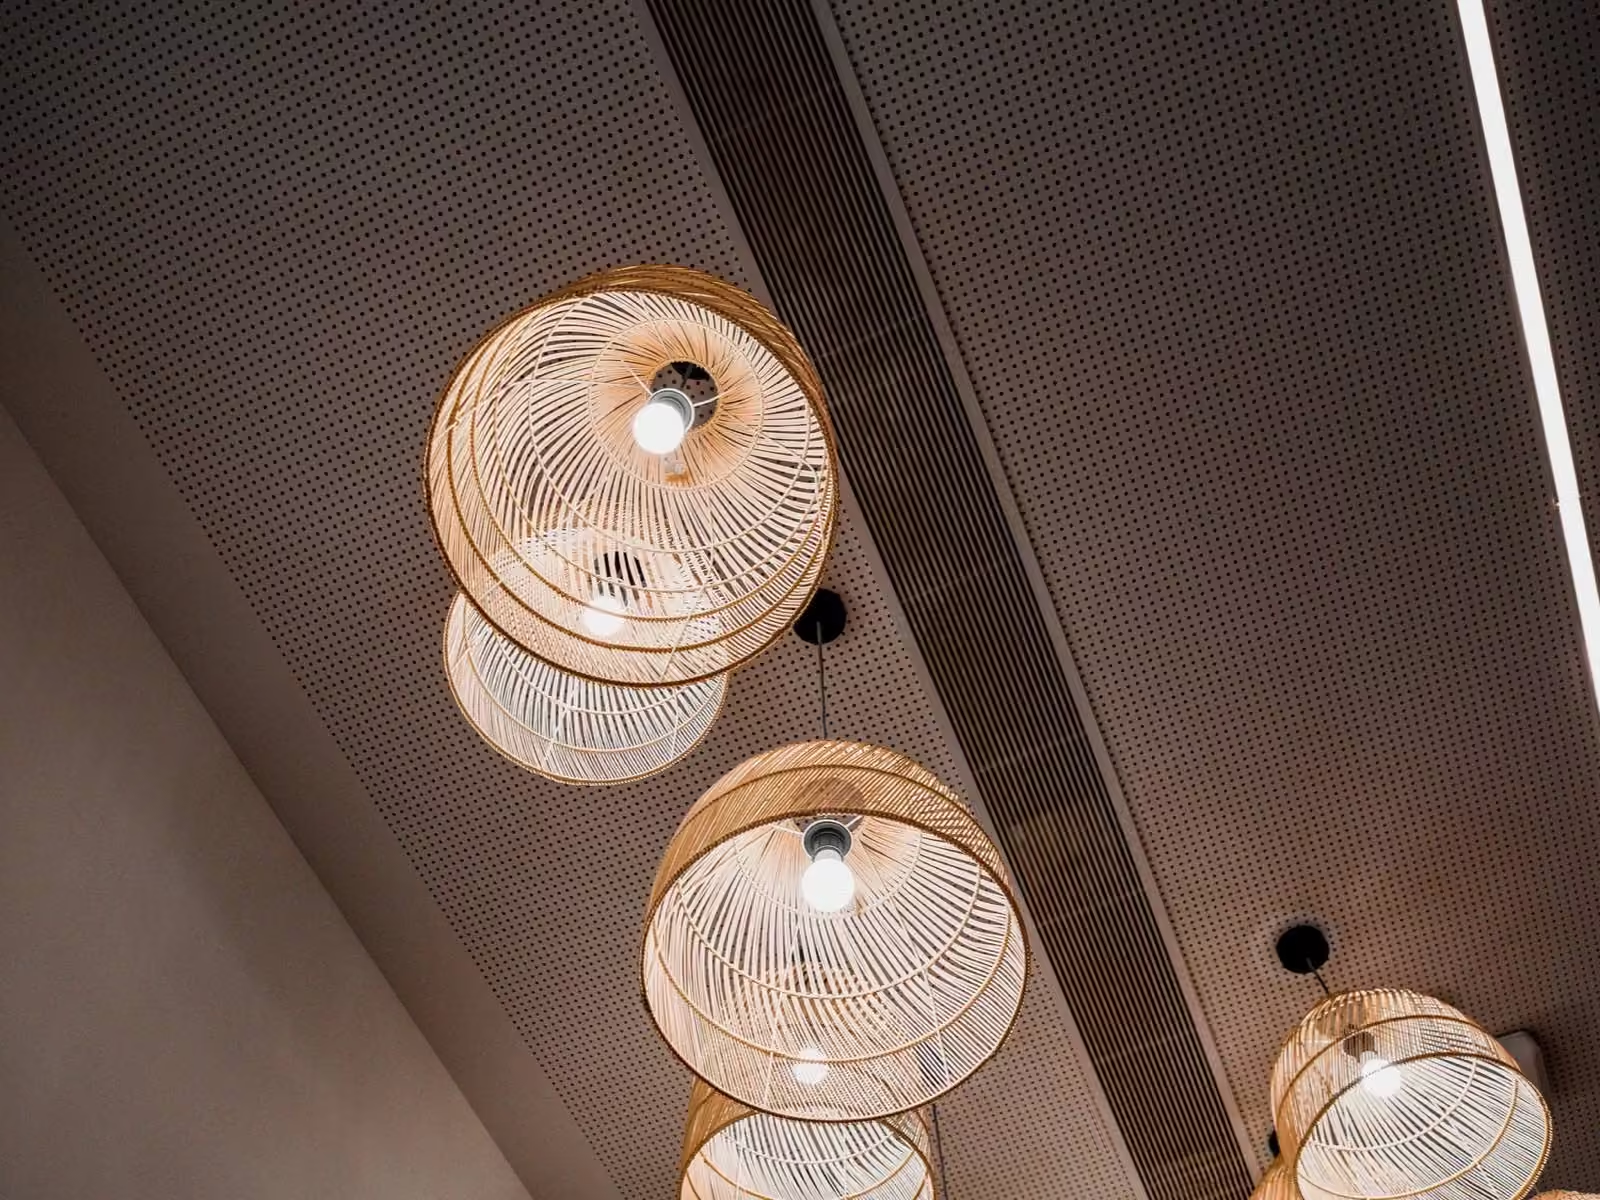
- The spacing rule of thumb divides ceiling height by two: lights sit about 4 feet apart under an 8-foot ceiling and about 5 feet apart under a 10-foot ceiling.
- Canless LED wafer lights need under 2 inches of depth, sit in insulation, and go in from below; IC-rated housings need an open bay and take swappable trims.
- California Title 24 requires high-efficacy, JA8-listed fixtures for new recessed lighting in homes, plus a dimmer or an automatic shut-off sensor depending on the room.
- New lighting wiring in the City of Los Angeles takes an electrical permit from LADBS, while Burbank, Glendale, and Pasadena run their own permit desks.
- Pre-1950 homes often hide knob-and-tube or ungrounded two-wire circuits above plaster ceilings, and new recessed fixtures get a fresh grounded circuit instead of a splice.
How do you lay out recessed lighting so the room looks right?
Every good recessed lighting installation starts with the ceiling height, on paper, before anyone picks a fixture. Divide that height by two and you have the spacing between lights in feet. An 8-foot ceiling wants lights about 4 feet apart. A 10-foot ceiling stretches that to 5 feet, because a higher source throws a wider pool.
The outer row sits about half that spacing from the wall. Under an 8-foot ceiling, that puts the first light 2 feet off the paint. Closer than that and you get a hard scallop on the wall. Farther and the corners go dim, which is the complaint we hear most in rooms someone else laid out.
Now place each light by what sits under it, not by the joist grid. A kitchen wants light on the counters where you chop, not on the walkway between them. A living room wants light over the seating, the shelves, and the art. When the pattern on the ceiling follows the furniture, the room reads as lit instead of as a ceiling with holes in it.
The airport-runway look comes from skipping that step: two straight rows of small lights marching down the ceiling, whatever sits below. The cure is layers, with recessed lights carrying the base level. Pendants over the table, sconces beside a mirror, and a lamp in the reading corner add warmth at eye height. Put each layer on its own dimmer and the room changes with the hour.
How many recessed lights does each room need?
Count from the spacing, then adjust for the job the room does. A 12-by-12 bedroom under an 8-foot ceiling takes four lights on a square. A kitchen usually takes more, since counters want direct light and the island often gets pendants instead.
Recessed lighting by room: typical count, spacing, and color temperature
| Room | Typical count | Spacing under an 8 to 9 foot ceiling | Color temperature |
|---|---|---|---|
| Bedroom, 12 x 12 ft | 4 | About 6 ft apart, 3 ft off the walls, with wide-beam lights | 2700K |
| Living room, 15 x 20 ft | 6 to 8 | 4 to 5 ft apart, placed over seating and shelves | 2700K |
| Kitchen | 6 to 10, plus pendants or under-cabinet strips | 4 ft apart, centered over the counters | 3000K |
| Bathroom | 2 to 4, plus vanity sconces | 3 to 4 ft apart, one wet-rated light over the shower | 3000K |
| Hallway | 1 every 4 to 6 ft | Single row down the center | 2700K |
| Home office | 4 to 6 | 4 ft apart, none directly above the monitor | 3000K to 3500K |
| Garage or laundry | 4 to 6 | 4 to 6 ft apart in two rows | 3500K to 4000K |
Two habits keep the count honest. Fewer lights with wider beams look calmer than a crowd of small ones. A dimmer covers the gap between a dinner party and a homework night, so size the layout for the bright end and dim from there.
One last check before the count is final: the ceiling fan. A recessed light straight above the blade sweep strobes every time the fan runs, so keep the lights outside the blade circle. If the fan is going in on the same visit, our ceiling fan installation crew sets the fan-rated box first, and the light layout wraps around it.
Canless wafer lights or IC-rated cans: which fits your ceiling?
Both are LED, both dim, and both can pass Title 24, so the difference is what sits above the drywall. A canless wafer is a flat LED disc under an inch thick, fed by a small driver box on a short cable. The whole thing goes in from below through a 4-inch hole. An IC-rated housing is a metal can several inches deep that holds a separate trim or LED module.
Wafers win in three cases. Shallow ceilings, where a duct, a beam, or a second floor sits right above the drywall. Insulated attics, since most wafers carry an IC and airtight rating and can lie in blown-in insulation. Rooms with no attic access at all, because the driver box fits through the same hole as the light.
Housings win when you can get above the ceiling and want choices later. A can takes a gimbal trim that tilts toward art, a deep reflector trim that cuts glare, and a new LED module years from now without touching the drywall. In an open joist bay with attic access, we usually set IC-rated, airtight housings. The wafer's weak spot is the reverse: when its LED fails, the whole light comes out.
What does Title 24 mean for recessed lighting, in plain English?
Title 24, Part 6, is the California energy code, and it sets the rules for the lights in your home. For recessed fixtures it comes down to three points. The fixture must be high-efficacy, which today means LED, and it must carry a JA8 mark, which means the maker certified it to the California Energy Commission for light output, color quality, flicker, and dimming. In an insulated ceiling, the housing must also be IC-rated and airtight.
The JA8 mark matters more than most people expect. A bargain wafer from an online marketplace can say LED on the box and still fail inspection because the mark is missing. Look for JA8 printed on the fixture itself, not only on the packaging. The California Energy Commission keeps the list, and we check each model against it before we order.
Controls come next, and the rule shifts by room. Bathrooms, garages, laundry rooms, utility rooms, and walk-in closets need at least one light on an occupancy or vacancy sensor that shuts it off automatically. In bedrooms, living rooms, kitchens, and dining rooms the recessed lights go on a wall dimmer, or on a sensor that shuts them off by itself. Hallways and small closets get a pass.
What do we find above a Los Angeles ceiling?
The ceiling itself is the first surprise in older neighborhoods. Homes from the 1920s through the 1940s in Highland Park, Glendale, Pasadena, and the older blocks of Burbank have plaster over wood lath. A standard hole saw grabs the lath and the plaster cracks in a star around the hole. We score the circle first and cut slowly with a fine-tooth blade, so the plaster keys behind the lath stay put.
Plaster is thicker than drywall, too. The spring clips on a remodel can expect half-inch board and slip on an inch of plaster and lath. Wafers with adjustable clips hold better, which is one reason we favor them in these houses.
The wiring is the second surprise. Pre-1950 houses often still run knob-and-tube across the ceiling, and that wire should not be buried in insulation unless an electrician has certified it, and we do not feed new fixtures from it. Fifties and sixties homes have two-wire cable with no ground, and a recessed fixture needs one. Either way the answer is the same: a new grounded circuit to the room, run by our residential electrician crew, with the old wire disconnected and left dead.
Fishing that cable depends on the house. A single-story ranch in Van Nuys or Northridge has an attic, so we drill the top plate above the switch, drop the cable, and reach every hole from above. The first floor of a two-story house in Woodland Hills has no attic over it, so the cable runs between the ceiling joists from hole to hole. Crossing a joist means one small opening at the joist, patched before we leave.
Can the existing circuit take the load, or is a new one better?
On load alone, the old circuit usually can. Ten LED wafers draw around 100 to 150 watts together, a little over one amp. A 15-amp lighting circuit barely notices. The old incandescent math, where six 65-watt floods pulled close to 400 watts, no longer applies.
The case for a new circuit is about what else the old one carries. If the same breaker feeds the kitchen outlets or a bathroom, adding lights makes a busy circuit busier. If the wire is knob-and-tube, two-wire with no ground, or 1960s aluminum, we do not extend it. If the switch box has no neutral, which is common in 1950s Valley homes, a smart dimmer has nothing to run on, and a new run fixes that as well.
The California Electrical Code, based on the NEC, also asks for arc-fault protection when a circuit in a bedroom, living area, kitchen, or hallway is extended to feed new lights. On a modern panel that is one AFCI breaker. On some 1960s and 1970s panels no listed AFCI breaker exists, and a new circuit from a subpanel, or a panel change, becomes the cleaner path. We open the panel before we quote, so that answer is on paper before the first hole.
Which dimmer, color temperature and beam angle should you pick?
Flicker almost always traces back to the dimmer. An old incandescent dimmer chops the power in a pattern an LED driver cannot read, so the light stutters and buzzes at the low end. Most fixture makers publish a list of compatible dimmers, and the fix is to buy from that list and keep one brand of light per dimmer. Most wafers want a forward-phase LED dimmer; some higher-end fixtures want reverse-phase, also sold as ELV.
Color temperature is the kelvin number on the box. 2700K reads warm, close to an old bulb, and suits bedrooms, living rooms, and hallways. 3000K reads a touch whiter and suits kitchens and bathrooms, where you want the true color of food and skin. Keep one temperature per sightline, because a 2700K living room that opens onto a 4000K kitchen looks like two different houses.
Beam angle decides how the light lands: a wide 100-degree wafer washes ceiling and floor evenly, which is why wafers can look flat and glare in a low room. A 40-degree flood in a deeper housing drops a soft pool on the floor with the source tucked out of sight. A 25-degree spot from a gimbal trim picks out a painting or a fireplace. One or two narrow beams in a room of wide ones is what makes a layout look designed instead of drilled.
Do you need a permit for recessed lighting installation in Los Angeles?
Yes, for any new wiring. In the City of Los Angeles, which covers most of the San Fernando Valley from Sylmar to Woodland Hills, a new circuit or a new recessed layout takes an electrical permit from LADBS. An inspector checks the wiring, the housings, and the JA8 labels. Swapping one fixture for another on the same box usually needs no permit at all.
Other cities keep their own desks. Burbank, Glendale, and Pasadena each run a building department with its own forms, fees, and inspectors, and unincorporated pockets go through Los Angeles County. The state codes behind the work are the same, though a city can add local amendments; the paperwork and the inspector's habits are not.
A+ Electric & Plumbing is a licensed electrician and plumber serving Los Angeles and the San Fernando Valley, and a kitchen lighting job often turns into a disposal swap or a dishwasher hookup on the same visit, on one license and one invoice. We pull the permit for your address, tape the layout, and meet the inspector. Current ranges are on our recessed and LED lighting installation page, and the rest of what we do with wire is on our electrician services in Los Angeles page. If you would rather talk it through with an electrician and plumber in Los Angeles first, a live person answers (818) 421-5290 around the clock.
Frequently asked questions
Can you add recessed lights to a ceiling with no attic above it?
Yes, and it is a routine recessed lighting installation in two-story homes. Canless wafers exist for exactly this case. Each one goes in from below through a 4-inch hole, and its driver box slips through the same opening. The cable runs between the joists from hole to hole, and crossing a joist takes one small opening, which we patch before we leave.
Do wafer lights last as long as cans?
The LED inside lasts about the same either way, with a rated life in the tens of thousands of hours. The difference shows at the end. A wafer is one sealed piece, so a failed wafer comes out and a new one goes in. A housing stays put and takes a new module or trim. Keep two spare wafers from the same batch so a replacement matches its neighbors.
What is the difference between a vacancy sensor and an occupancy sensor?
An occupancy sensor turns the light on when you walk in and off when the room empties. A vacancy sensor waits for you to flip it on, then turns it off once the room sits empty. Title 24 accepts either type in bathrooms, garages, and laundry rooms, as long as it shuts the light off by itself. We lean toward the vacancy type, because it never switches on for a cat or a moving curtain.
Does recessed lighting work on a vaulted or sloped ceiling?
Yes, with the right fixture. A flat wafer on a slope aims its light at the far wall, not the floor. Sloped-ceiling housings and gimbal trims tilt the beam back to vertical. In a vaulted room we place fewer lights along the lower slopes and let pendants or a fan light kit handle the peak. Ceilings over about 12 feet stretch the spacing rule, so we test one location first.
How much dust and patching should I expect?
Less than most people fear. A wafer goes in through a hole its own trim covers, so a room with attic access often needs no patching at all. Rooms without attic access take one or two small openings where the cable crosses a joist or drops to the switch. We patch those before we leave, and the paint touch-up stays with you. A dust shroud on the hole saw matters most under old plaster.
Related services
Need this handled? Start here
Get a free estimate
Tell us what's going on and a licensed tech calls you back fast, with the exact price before any work starts. Electrical and plumbing, one team.
Estimates for quoted work are free. Troubleshooting or diagnosis may carry a $100-$250 service call, credited to your repair when you approve the work.
- Exact price in writing before we start
- Licensed, bonded & insured (CSLB #942404)
- One team for electrical and plumbing
Prefer to talk? Call (818) 421-5290, answered 24/7.