
Plumbing guide
Tub to Shower Conversion: What Changes Behind the Wall and Under the Floor
A tub to shower conversion changes more under the floor than on the wall. A 2-inch shower drain and a new trap replace the tub's 1 1/2 inch waste, so the floor opens up. The old two-handle tub valve gives way to a pressure-balancing or thermostatic valve at shower height. Add a waterproofed pan, a flood test, and a plumbing permit with rough and final inspections, then the tile crew takes over.
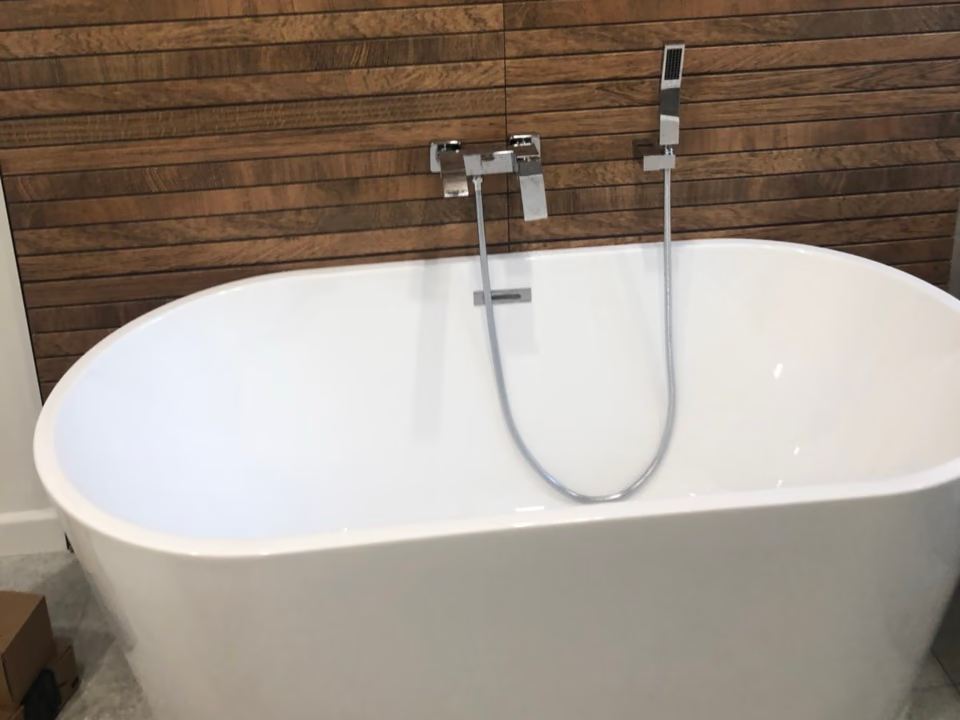
- A shower drain is 2 inches where a tub used 1 1/2, so nearly every conversion rebuilds the trap and drain line under the floor.
- California plumbing code requires a pressure-balancing or thermostatic valve on every new shower, so the old two-handle tub valve comes out.
- In the City of Los Angeles the permit runs through LADBS, and the inspector wants the pan holding water before tile goes on.
- Older Los Angeles homes often feed the tub through galvanized steel, and the open wall is the right moment to replace those lines.
- A GFCI outlet, a vent fan, and wet-rated lighting usually ride along, so one contractor holding both licenses saves a second schedule.
What actually changes in a tub to shower conversion?
On the surface it is a tub out and a tiled or acrylic shower in. The real work sits below and behind that. A tub drains through a 1 1/2 inch waste and overflow at one end. A shower has no rim to hold water back, so code gives it a 2-inch drain. That one number forces a new trap, a new drain line, and a fresh slope under the floor.
The wall changes with it. Tub valves sit low, and most older ones are two-handle or three-handle units with no scald protection. The replacement must be pressure-balancing or thermostatic, and it moves up to chest height with the head above it. After the rough plumbing comes waterproofing, then a flood test, then the inspector, and only then tile.
Tub versus shower: what code and the inspector expect
| Requirement | Bathtub | Walk-in shower |
|---|---|---|
| Drain size | 1 1/2 inch waste and overflow | 2-inch drain and trap, sloped a quarter inch per foot |
| Drain location | At one end of the tub | Centered in the pan, or a linear drain at the wall for curbless |
| Mixing valve | Older two-handle and three-handle valves still common | Pressure-balancing or thermostatic, limit stop at 120 degrees |
| Valve and head height | Valve near knee height, spout above the rim | Valve near chest height, head around 78 to 80 inches |
| Waterproofing | The tub holds the water, surround sealed at the rim | Pan liner, hot mop, pre-formed pan, or bonded membrane over a pre-slope |
| Inspection | Lighter, but most cities still want a permit for a tub swap | Rough plumbing under test, pan flood test, then a final after trim |
The sections below take each row from the plumber's side. After that come the permit, the wiring, and the choices that matter if you plan to stay put for decades.
Why does the drain need rebuilding under the floor?
The tub waste sits at one end of the tub, tied to a 1 1/2 inch trap that usually points toward the wall. A shower wants its drain in the middle of the pan, or along the far wall for a linear drain. That means cutting out the old trap, running new 2-inch pipe, and setting a new trap directly under the drain body.
Slope is the part nobody sees and every inspector checks. Drain pipe this size needs a quarter inch of fall per foot, and the larger pipe wants more room in the joist bay. In a raised-foundation house, common across the older Valley, all of this happens from the crawl space. On a slab we saw-cut the concrete along the new route and set the pipe in a trench. A finisher patches the floor once the line passes its test.
The open floor is also the moment to look at the branch line the new drain ties into. Cast iron from the 1920s through the 1960s rusts from the inside, and a tub branch that seemed fine can look rough on camera. Fixing a bad section now beats opening a finished floor twice. A moved toilet or a new vanity wall turns the job into bathroom remodel plumbing, and the vent routing then needs a plan before demo.
Which shower valve does code require, and where does it go?
California plumbing code requires scald protection on every new or replaced shower valve. That means a pressure-balancing valve, a thermostatic valve, or a combination, with the limit stop set no higher than 120 degrees. The two-handle and three-handle tub valves in older bathrooms have none of that. An inspector will not pass a conversion that keeps one.
A pressure-balancing valve reads the hot and cold sides and holds your mix steady when a toilet refills or the washer starts. A thermostatic valve holds a set temperature instead, which suits a household with small children or an older parent. Both pass inspection. We set the limit stop with a thermometer at the head before the trim goes on.
Heights change with the fixture. A tub valve sits around 28 to 30 inches off the floor with the spout just above the rim. A shower valve belongs roughly 38 to 48 inches up, within reach from outside the spray. The head lands near 78 to 80 inches, higher for tall households. We extend the riser, set a drop-ear elbow on solid blocking, and stub a second drop for a handheld if you want one. None of that is possible once tile covers the wall, so settle it before the rough-in.
What do the supply lines look like in older Los Angeles homes?
Open the tub wall in a 1920s Highland Park bungalow or a 1950s Van Nuys tract house. There is a fair chance you will find galvanized steel supply lines. Galvanized pipe rusts from the inside, and after sixty years the half-inch line feeding the tub may have a pencil-width opening left. A new valve on the end of that pipe is a new valve with the same weak flow.
The wall is open during the rough-in anyway. Swapping the galvanized stubs for copper or PEX back to the nearest sound joint is simple while the framing shows. Doing it later means opening finished tile. If the whole house still runs on galvanized, the conversion is a natural first step toward a whole-house repipe, priced as its own scope.
Static pressure matters too. Plenty of Los Angeles homes see 80 psi or more at the hose bib. A new cartridge on an unregulated line drips within a few years. We put a gauge on a hose bib during the estimate. If the number is high, a regulator at the main goes on the list ahead of the valve.
Pan liner, pre-formed pan, or tile pan: which one and who builds it?
The pan is where the whole conversion succeeds or fails, and it is shared work. The plumber sets the drain body and the trap. The tile contractor builds the waterproof floor around that drain. Neither side can finish without the other, so we agree on the sequence before demo.
- Pre-formed pan: an acrylic or fiberglass base with the drain hole molded in. No pre-slope to build, a bolt-down drain, and the plumber handles most of it.
- Tile pan with a liner: a sloped mortar bed, a PVC or CPE liner clamped into a two-piece drain, then a second bed and tile. Around Los Angeles this is often a hot mop, with hot asphalt mopped over the pre-slope in place of a sheet.
- Bonded membrane or foam tray systems: a factory-sloped tray or a topical membrane that bonds straight to the drain flange. The drain is specific to the system, so the plumber needs the brand before the rough-in.
The flood test is the part inspectors care about. With the drain plugged, the pan fills to the rough threshold and sits, usually for 24 hours. A mark on the wall shows any drop. In the City of Los Angeles the inspector wants that water still standing at the rough, so nobody pulls the plug early. A pan that fails the test means redoing the liner, not the tile, which is the whole reason the test comes first.
Do you need a permit for a tub to shower conversion in Los Angeles?
Yes, in every city we work in. The drain changes size and location, the trap moves, and the supplies move inside a wall. Each of those on its own triggers a plumbing permit. Inside the City of Los Angeles the permit comes from LADBS. A plain conversion usually qualifies for an express permit with no plan check. Burbank, Glendale, Pasadena, and the smaller cities issue theirs at their own counters, and a few want a sketch of the new layout.
Expect at least two visits from the inspector, and in some cities the pan test gets a visit of its own. The first is the rough, often called the top-out. The inspector sees the new drain, trap, and vent connection under a water test, the valve set at height, and the pan holding its flood test. Nothing closes up until that passes. The second is the final after trim. The inspector runs the valve, checks the limit stop, and looks at the fan and GFCI under the matching electrical permit.
Skipping the permit tends to surface at the sale. A converted bath with no record lands in the disclosure, and a buyer's inspector will ask for the paperwork. A few inspections and a permit fee are far easier than reopening a tiled wall for an inspector who never saw the rough.
What electrical work rides along with a shower conversion?
Almost every conversion we do pulls three electrical items into the same open wall. The bathroom needs a GFCI-protected outlet at the vanity, and plenty of 1950s baths still have an ungrounded two-prong there. The exhaust fan has to vent outdoors, not into the attic. California's green building code (CALGreen) also calls for an ENERGY STAR fan on a humidity control, and most cities hold a remodeled bath to that, unless the fan is part of a whole-house ventilation system.
Lighting is the third. The California Electrical Code, based on the NEC, treats the space above a shower as damp and the spray area as wet. Any fixture inside that zone needs the matching rating, and a standard recessed can with an open trim does not qualify. No outlet may sit inside the shower space at all.
Curbless, aging in place, and keeping one tub for resale
A curbless shower needs the floor to drop, or the drain to move to the far wall. On a slab we cut the pan area down so the floor slopes to a linear drain at the wall, flush with the room. On a raised foundation the framer lowers the subfloor between the joists, and we run the 2-inch line to the linear drain body. Either way, decide on curbless before the rough-in, since that stage fixes the drain position and the floor height.
Aging in place adds a short list while the walls are open.
- Solid blocking behind the tile for future grab bars at the entry, the back wall, and beside a bench.
- A handheld shower on a slide bar, fed by a second drop off the valve, so the spray reaches a seated user.
- A thermostatic valve rather than a pressure-balancing one, so the water holds one temperature for skin that scalds faster.
- A drain placed so a curbless or low-threshold entry sheds water toward it and not toward the bathroom door.
Keep one tub in the house if you can. Buyers with small children look for it, and an appraiser notices a home with no bathtub at all. In a two-bath house that means converting the primary and leaving the hall tub alone. In a one-bath house, a deep soaking tub with a good shower over it often beats a tub-free home.
Current ranges for the plumbing scope are on our shower and tub installation page. The same visit can swap a tired vanity faucet while the water is already off. Our Los Angeles plumber hub covers the rest of the water side. Call (818) 421-5290 and a person answers, day or night, and the estimate comes free and in writing.
Frequently asked questions
Can the old tub drain line stay if I use a pre-formed shower pan?
Not as it sits. The pan's drain still needs a 2-inch trap and line. The outlet also lands mid-pan rather than at the end where the tub waste was. Some pre-formed pans offer an offset drain that keeps the new trap closer to the old one, which shortens the pipe run. The size still changes.
How long does the pan flood test have to hold?
Plan on 24 hours, with the water still standing when the inspector arrives. We plug the drain, fill the pan to the rough threshold, and mark the waterline on the wall. Any drop by the next day means the liner or a drain clamp leaks, and the tile crew fixes it before mortar goes down. Tile over a failed pan is the leak you find from the ceiling below.
Can I keep my two-handle tub valve and just add a shower head?
No. Once a valve serves a shower, code calls for scald protection, and the old two-handle and three-handle units have none. An inspector will fail the rough on that alone. The swap happens while the wall is open anyway, so the new single-handle valve goes in at shower height before tile. You also gain a steady temperature when someone flushes.
What is different about a conversion in a slab house?
The drain work. In a raised house we rework the trap and line from the crawl space, and the bathroom floor stays intact. On a slab the new route means saw-cutting concrete, trenching, testing the pipe, then a patch before the pan goes in. Curbless is also harder on a slab, since the pan area has to come down by cutting rather than framing.
Do I need a separate electrical permit for the fan and the GFCI?
Usually, yes. The plumbing permit covers the drain, the valve, and the supplies. The electrical work rides on its own permit even when the same crew does both. In the City of Los Angeles both come through LADBS, and on a house the same inspector can often look at both on one visit. A contractor holding both trades pulls both permits and lines the inspections up together where the city allows it.
Who do I line up first, the plumber or the tile contractor?
Both, before demo, and let them talk to each other. The plumber needs to know the pan system, since a bonded-membrane tray takes a different drain than a hot mop or a clamped liner. The tile contractor needs the drain set and the rough passed before waterproofing starts. We trade numbers with your tile crew and book our trim visit around their finish date.
Related services
Need this handled? Start here
Get a free estimate
Tell us what's going on and a licensed tech calls you back fast, with the exact price before any work starts. Electrical and plumbing, one team.
Estimates for quoted work are free. Troubleshooting or diagnosis may carry a $100-$250 service call, credited to your repair when you approve the work.
- Exact price in writing before we start
- Licensed, bonded & insured (CSLB #942404)
- One team for electrical and plumbing
Prefer to talk? Call (818) 421-5290, answered 24/7.